JL Audio Keyrings
We were recently approached by JL Audio UK and asked to make some JL Audio keyrings for their new marketing campaign. Instead of simply manufacturing the keyrings and sending them off, we decided to document the major stages of the project. This way, JL Audio UK could use the images and descriptions for their social media campaign.
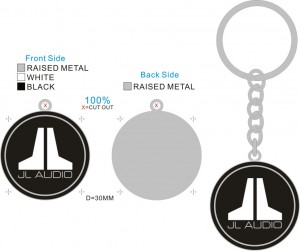
The initial design clearly shows the dimensions and specification of the JL Audio keyrings and also shows the pantone colours we will be using for the enamel areas. In this particular case, specific pantone numbers were not needed, as white and black don’t require pantone numbers.
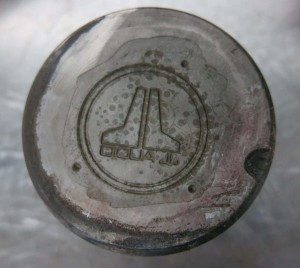
After the initial design approval, a unique die mold and clip tool is made. This is used to stamp into the base metal and create the cut-out metal JL Audio keyrings. The cut-out areas on the mold will actually be the raised areas on the keyring when it is stamped down.
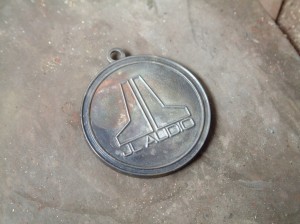
This image shows the base metal keyring cut-out before any plating or enamel is added. It also clearly shows the raised metal areas and the recessed areas where the enamel colouring will be added.
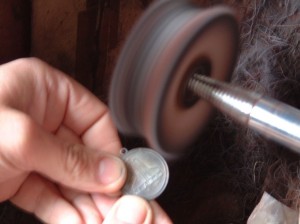
The metal keyrings are then buffed by hand to make sure any small blemishes/imperfections are removed, ensuring a nice even surface.
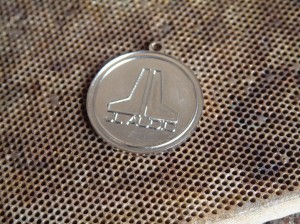
After the JL Audio keyrings are buffed, they go for plating. In this particular case, a silver finish was required. If you compare this image to when the keyrings are first stamped out, you can see difference in finish and the increased shine from the metal.
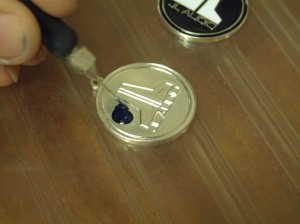
In the final major stage, enamel colouring is added to the recessed metal areas, leaving a flat surface. For this item, black enamel was added to the outer areas, whilst white enamel was inserted into the inner areas.

After the enamel is left to dry and set overnight, the only thing to do is add the keychain fitting and admire the finished items!
‘I have received the keyrings this morning and they look fantastic! Awesome job thanks and we will be sure to recommend your business and use you again.’ – Mark Baker, JL Audio

